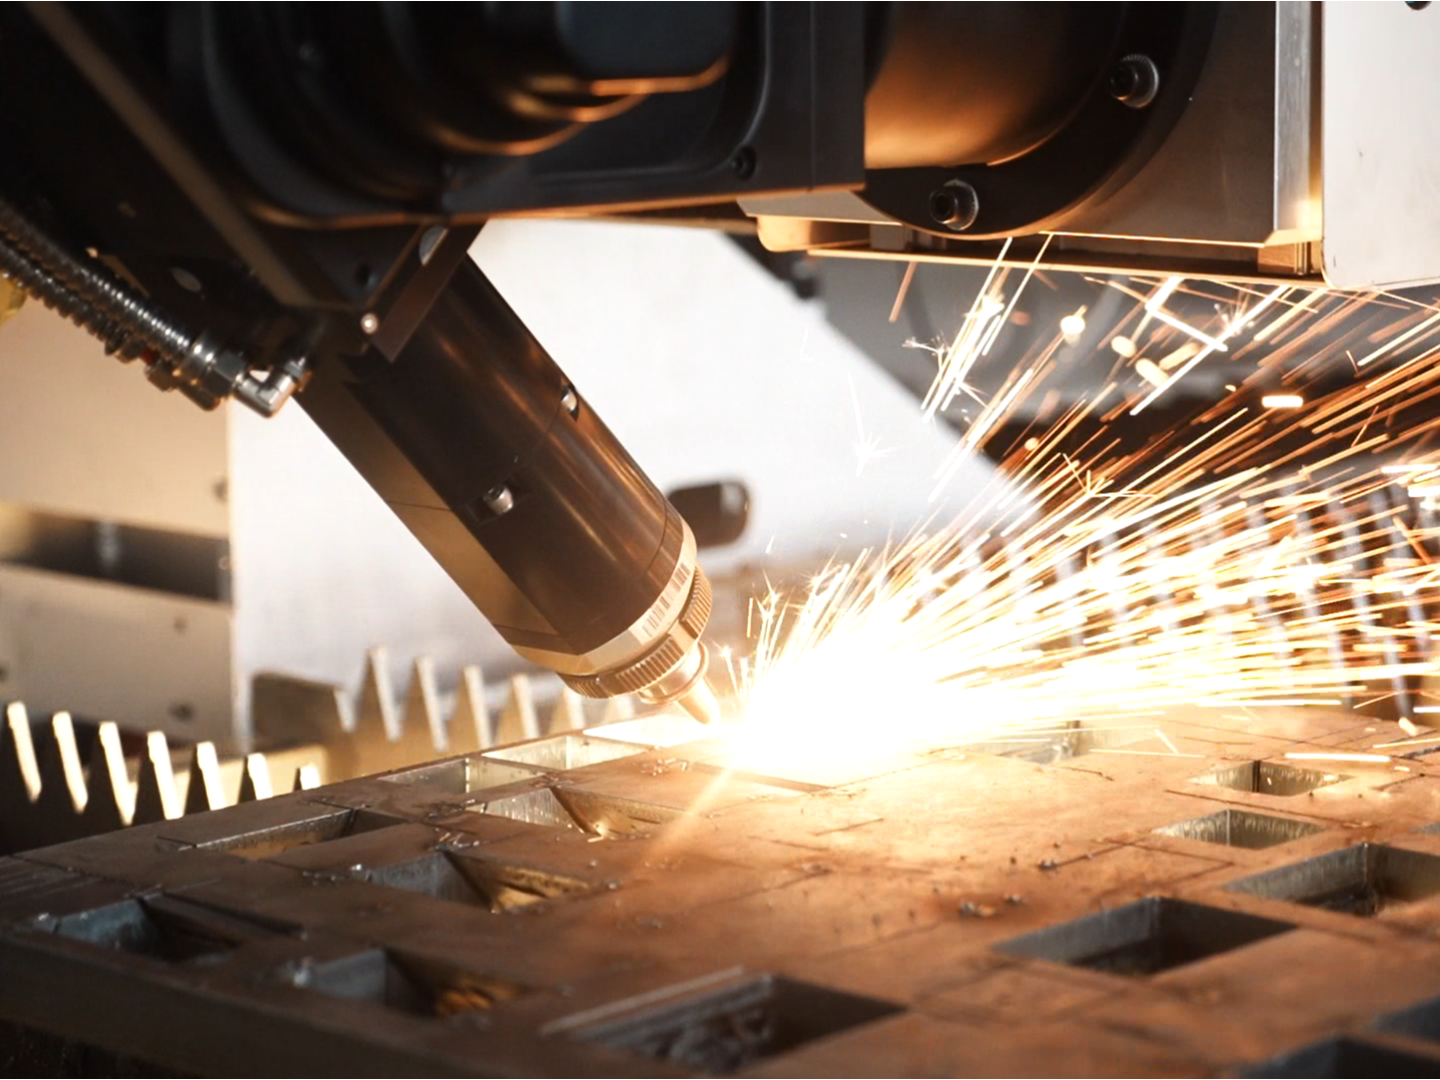
Laser Beam Quality and Motion Control: Dual Pillars of Accuracy
How beam quality and focused spot size determine edge precision
The quality of laser beams, which we measure using M squared values, plays a big role in getting those really precise cuts. When beams have an M squared value below 1.1, they basically follow these ideal Gaussian shapes that let us focus the beam down to spots around 20 microns across. That kind of tight focus means we can deliver all that energy right where it needs to go. For stuff like thin stainless steel sheets at about 1mm thick, this matters a lot since manufacturers typically need tolerances within plus or minus 0.05mm. Some research published in Applied Optics back in 2024 showed something interesting too: when we manage to keep beam divergence under 0.5 milliradians, the variation in kerf width drops by almost 18% when cutting aluminum. Makes sense really how better beam control leads directly to more accurate dimensions in the final product.
Case Study: Enhancing beam consistency in stainless steel cutting
In a recent 2023 test involving 3kW fiber lasers specifically tuned for cutting 304 stainless steel, researchers found that using adaptive optics actually boosts cut quality by around 40%. The system works by fixing thermal lensing issues as they happen, which keeps the laser beam at about 25 microns throughout long production runs without much focal drift. When paired with adjustments to power levels during operation and some clever air blowing techniques to clear away debris, manufacturers saw a massive drop in unwanted metal buildup (dross) by nearly two thirds. Positional accuracy stayed remarkably tight too, holding steady within plus or minus 0.03 millimeters even after over ten thousand cuts. As an added bonus, this setup slashed scrap material caused by heat warping by almost a quarter compared to traditional methods.
Workbench positioning accuracy and CNC integration for 0.05mm results
Getting down to micron level precision isn't possible without some seriously advanced motion equipment. Take modern linear motor stages for example they typically hit around plus or minus 2 microns repeatability. And those direct drive rotary axes? They keep angular accuracy under 5 arc seconds, pretty impressive stuff. Pair all this with a 200kHz CNC controller and suddenly we're talking about systems that employ dual loop feedback. These combine both laser displacement sensors and rotary encoders working together to cut down on positional drift by roughly 31% when compared to older ball screw setups. But there's still another factor to consider temperature changes. That's why real time thermal compensation is so important it stops those small errors from building up over time. Without this feature, cumulative errors could actually reach over 0.1mm during complicated nested cutting operations, something no manufacturer wants to deal with.
Motion control systems: Balancing speed with micron-level precision
Modern motion controllers can handle parabolic acceleration curves reaching 2G forces, which allows for cutting speeds around 40 meters per minute in 2mm thick aluminum without losing precision. The system uses predictive math models along with servo responses under 20 milliseconds to fight against inertia when making quick directional shifts. With these improvements, galvo scanners are hitting impressive traversal speeds of 150 meters per minute while maintaining 5 micrometer repeatability. This translates to about 99.7% success rate on the first attempt for complex shapes like honeycomb patterns. All this happens within tight ±0.05mm tolerance ranges, and there's also a noticeable 35% improvement in how straight edges remain after cutting processes.
Core Technical Factors Influencing Cut Tolerance in Metal Laser Cutting
Material type and thickness: Their role in dimensional accuracy
The characteristics of different materials play a big role in what kind of tolerances can actually be achieved during manufacturing. Take stainless steel for example, which generally maintains around plus or minus 0.05mm when everything goes right, especially within the 0.5 to 20mm thickness range. Aluminum works differently though. Because it conducts heat so well, machinists usually need to slow down feed rates by about 15% to prevent those annoying edge warps that happen too often otherwise. Interesting thing about thinner parts is they tend to handle thermal stress better. A recent look at fabrication benchmarks from 2024 showed that 3mm mild steel pieces stayed dimensionally stable about 92% more than their 10mm counterparts. And then there's copper, which brings its own set of headaches because of how reflective it is and how quickly it dissipates heat. Most shops dealing with copper end up investing in special beam delivery systems just to get decent results without all the guesswork.
Managing heat distortion to maintain sub-0.1mm precision
Good control over heat is really important when working with tight tolerances. Cooling systems that actively remove heat can cut down on those pesky heat affected areas by about 40 percent compared to just letting things cool naturally. And if we throw some nitrogen into the mix during cutting processes, oxidation problems in carbon steel drop dramatically - somewhere around 78% less according to tests. Monitoring temperatures as they happen lets operators tweak laser power settings every fraction of a second, which makes all the difference in keeping parts from warping after long sessions at the machine. This matters a lot especially with metals that conduct electricity well or react badly to temperature changes.
Standard tolerance ranges across common metal thicknesses
| Material | Thickness | Typical Tolerance | Industry Standard |
|---|---|---|---|
| Stainless Steel | 1-5mm | ±0.05mm | ISO 2768-fine |
| Aluminum | 2-8mm | ±0.08mm | ASME Y14.5-2018 |
| Copper | 0.5-3mm | ±0.12mm | DIN 7167 Part 2 |
These benchmarks reflect typical production capabilities under controlled conditions and align with downstream manufacturing requirements.
Laser cut hole tolerance: Challenges and process optimizations
Making those tiny holes under 2 mm requires really good control over the laser beam. When manufacturers use high frequency pulses, they get about a 30% better circle shape on average. Adjusting the focus point as the hole is being made helps reduce the taper effect too, keeping the angle difference under half a degree most of the time. The latest UV lasers can hit within plus or minus 0.013 mm when working on parts for airplanes, which satisfies those tough requirements for both how fluids move through them and their overall strength. This kind of accuracy matters a lot in situations where everything has to line up perfectly for proper function.
Calibration, Quality Assurance, and Industry Standards in Metal Laser Cutting
Factory Calibration and Routine Quality Testing Protocols
Keeping that 0.05mm level of accuracy isn't something that happens by accident. Most top manufacturers schedule interferometric alignment sessions roughly every 500 hours of operation time. They also implement temperature compensation techniques during motion profiling to maintain system stability over extended periods. For facilities holding ISO 9000 certification, their quality control protocols typically involve NIST traceable procedures when checking three axis beam alignment, aiming for tolerances around plus or minus 0.003mm. Regular maintenance routines cover several critical areas including measuring kerf widths through micro metrology equipment, verifying laser pulse energy levels with those specialized pyroelectric sensors, and conducting tests on nozzle concentricity using CCD vision systems. All these steps work together to keep the beam delivery consistent across operations.
Dimensional and Vertical Tolerance Standards in Precision Manufacturing
Tolerance expectations vary by application sector:
| Standard Type | General Fabrication | Precision Engineering |
|---|---|---|
| Dimensional Tolerance | ±0.1mm | ±0.03mm |
| Vertical Angularity | 0.5° | 0.15° |
| Surface Flatness | 0.2mm/m² | 0.05mm/m² |
These tiers align with ASTM A480 for sheet metal and ISO 9013 for structural components, ensuring compatibility with secondary processes like welding or CNC machining.
Emerging Trend: AI-Driven Diagnostics for Automated Calibration
The field of calibration is getting a major boost from machine learning technology these days. Some advanced neural network systems can process around 14 thousand data points every single minute. They look at things like how stable the beam mode stays, what pressure the assist gas maintains, and how much wear occurs on nozzles. According to research published in the Journal of Laser Applications back in 2023, this kind of analysis cuts down calibration drift problems by about 72 percent in fiber laser setups. What makes these AI powered systems really stand out is their ability to tweak cutting head alignment automatically while keeping deviations below 5 micrometers. This works even when machines run non stop for days on end, which means manufacturers get better consistency across products and spend less time dealing with downtime issues.
Debunking the Myth of Universal Laser Cutting Tolerance Standards
There really isn't one size fits all when it comes to tolerances in metal laser cutting operations. Take aerospace applications for instance where they work with aluminum honeycomb structures that require incredibly tight specs around ±0.02mm according to standard AMS 2772D. Contrast this with architectural steel projects governed by EN 1090-2 regulations which allow much looser tolerances at about ±0.15mm. Different industries have their own benchmark standards too. The ISO 9013 guideline covers regular sheet metal work, whereas pressure vessel manufacturers must follow ASME B31.3 specifications. These standards aren't just numbers on paper; they actually determine how precise our cuts need to be depending on what those parts will ultimately do in real world conditions. That's why good engineers always consider the specific application context before setting up any laser cutting operation.
Frequently Asked Questions (FAQ)
What is the significance of the M squared value in laser cutting?
The M squared value is an indicator of laser beam quality. An M squared value below 1.1 suggests a near-ideal Gaussian beam shape, allowing the beam to be focused into a very small spot size, which is crucial for precise cuts.
How does adaptive optics improve laser cutting performance?
Adaptive optics adjust the laser beam in real-time to compensate for issues like thermal lensing. This maintains a consistent beam size and improves cut quality, reducing issues like dross and scrap material.
Why is motion control important in precision laser cutting?
Advanced motion control systems ensure micron-level precision and consistency during the cutting process. They mitigate errors due to factors like temperature changes and positional drift, which are crucial for achieving tight tolerances.
How do material properties affect laser cutting tolerances?
Different materials have unique properties that affect their cutting behavior. For example, stainless steel might maintain precise tolerances with proper laser settings, while aluminum's high thermal conductivity requires reduced feed rates to prevent edge warping.
What role does AI play in laser cutting calibration?
AI-driven diagnostics optimize the calibration process by analyzing extensive operational data. This reduces calibration drift and ensures consistent cutting performance, even during prolonged machine use.